Printing to MCECS Printers using the Classic method
NOTE: You will need to be connected to a VPN. (See our VPN Services Page for details.)
Step 1 – Open System Preferences.
Step 2 – Click on “Printers & Scanners”.
Step 3 – Click on the ” + ” button to add a new printer.
By doing so, you will be greeted with a new window that should look like the following:
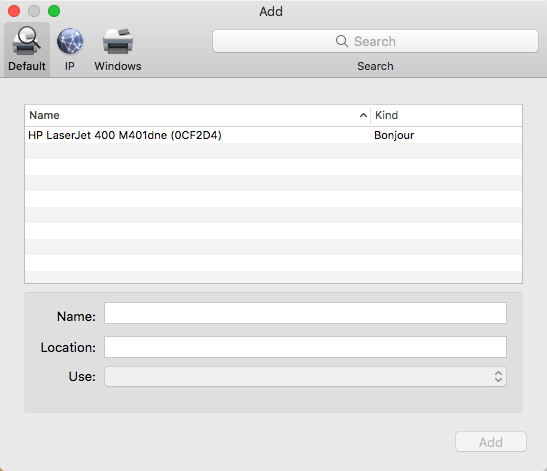
At the top of the window, if you have an extra icon titled: “Advanced”, you can skip to step 5.
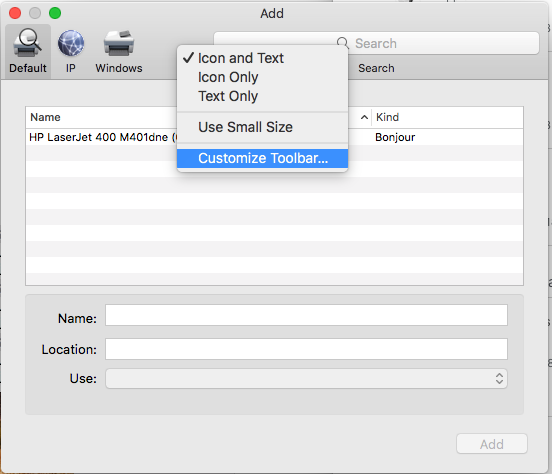
Step 4 – Right click in an empty space next to the other icons.
Once right clicked, there will be a menu that pops open. Click on “Customize Toolbar…”
Once clicked, you will be greeted with a window for more options. You will want to drag and drop the “Advanced” icon to the top.
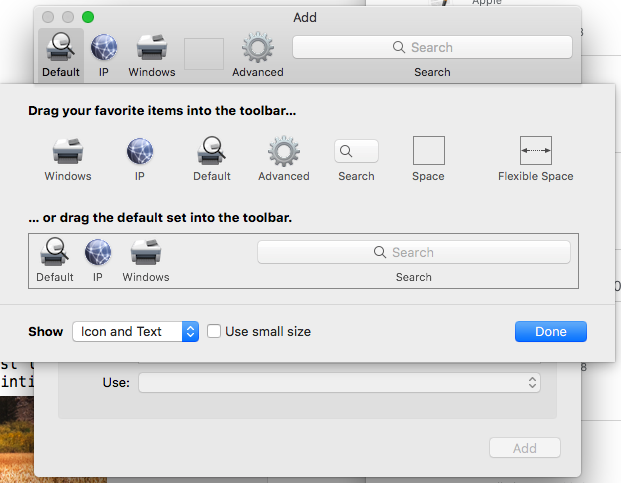
If done correctly, after clicking done, the updated window should look like this:

Step 5 – Adding a New Printer
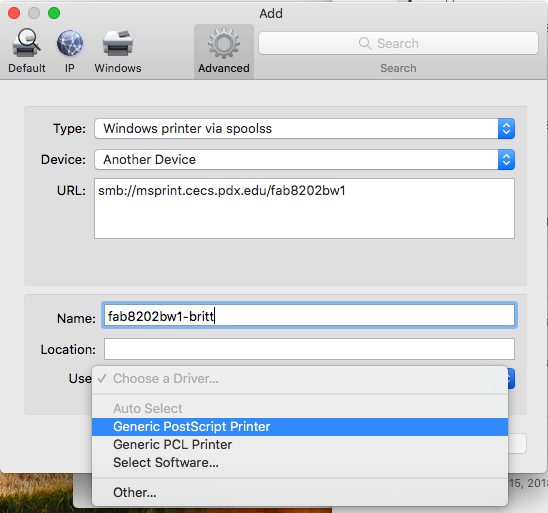
Click on the newly added “Advanced” icon. After a moment, there will be multiple fields for you to fill out.
- First, ensure the “Type” is selected as “Windows printer via spoolss”.
- Leave Device as “Another Device”.
- The “URL” field should follow this format: “smb://msprint.cecs.pdx.edu/NAMEOFPRINTER” (without the quotes).
- Here you can find a list of printers.
- If “msprint” did not work, you might need to use “edda” in this field.
- The next field is a name you will give the printer.
- Finally, the last selection “Use” must be set to “Generic PostScript Printer”.
Your window should look similar to this.
Once you click “Add”, you are done! If there are no error messages, you have successfully added the printer and you will now be ready to print. Your “Printers & Scanners” page will look like this:

Step 6 – Printing
In order to print, ensure you are on the VPN; a guide on how to connect can be found at the top of this page.
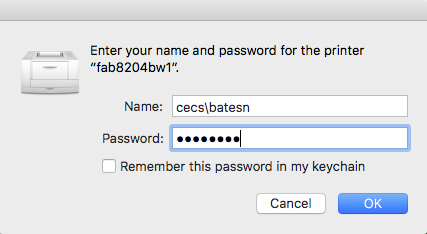
When you go to print, you will be asked to authorize with your username and password. The username will be something like: “cecs\USERNAME”. Here is an example:
Troubleshooting
- If the job status says “hold for authentication” but you did not see a authentication popup, cancel the print job and try again.
- If you continue to receive the “hold for authentication” status, you might need to try the cups method.
- If you have tried both guides and are still not able to print, let us know. In the meantime, you may need log into a lab machine to print, use webprint (print.cecs.pdx.edu), or use remote desktop to log in to a computer that can print.