Printing to MCECS Windows Printers using the CUPS method
NOTE: You will need to be connected to a VPN. (See our VPN Services Page for details.)
This procedure will only work if you have local administrator (ie: root) privileges on your Mac.
Step 1 – Open Terminal (a shell) from your Applications/Utilities directory.
Step 2 – Type the following into the Terminal and press return.
cupsctl WebInterface=yes
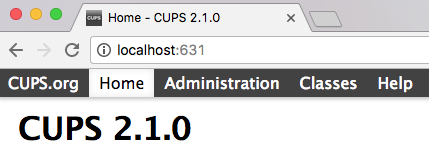
Step 3 – Open a web browser, type “localhost:631” into the address bar, and press return.
This should bring you to the Cups homepage for your computer.
Step 4 – Click on the “Administration” tab at the top of the page.
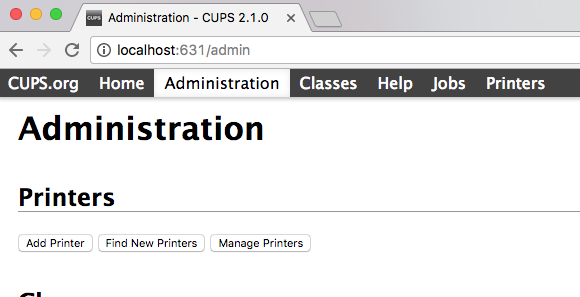
Step 5 – Under “Printers”, click “Add Printer”.
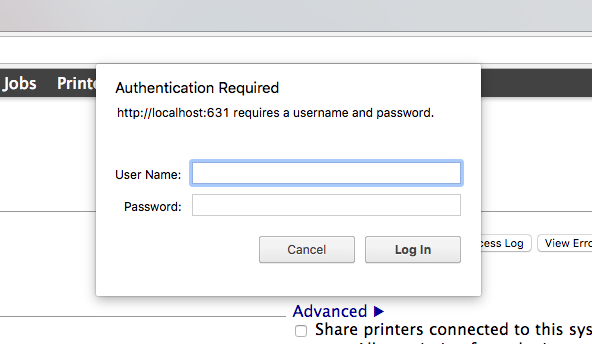
Here you will need to enter a username and password. Make sure to use the administrator username and password for your local computer, not your MCECS account.
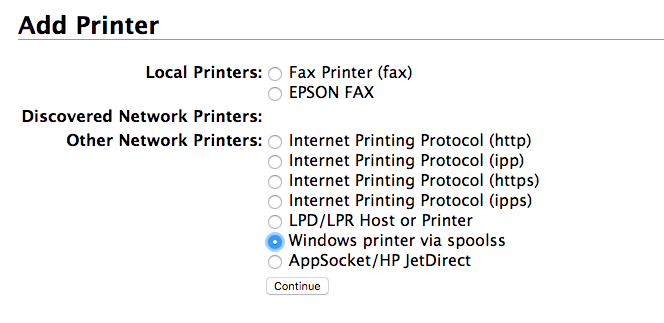
Step 6 – Select “Windows printer via spoolss”, under “Other Network Printers”, and click “Continue”.
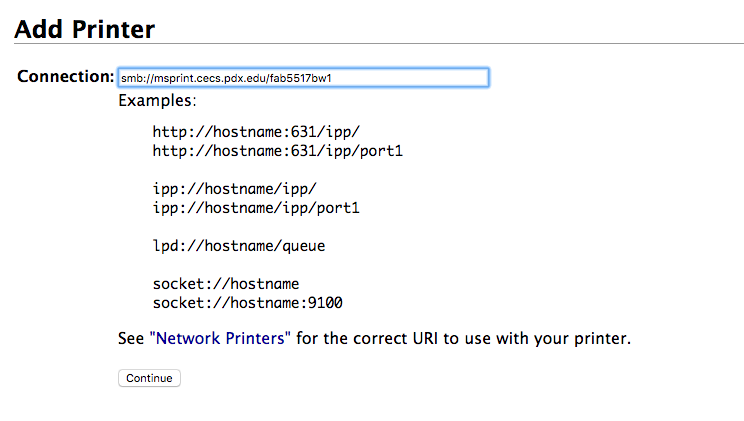
Step 7 – In the “Connection” field, enter “smb://msprint.cecs.pdx.edu/[name_of_printer]”.
For example, “smb://msprint.cecs.pdx.edu/fabc8802bw1”, for the CS Lounge printer. Then, click “Continue”.
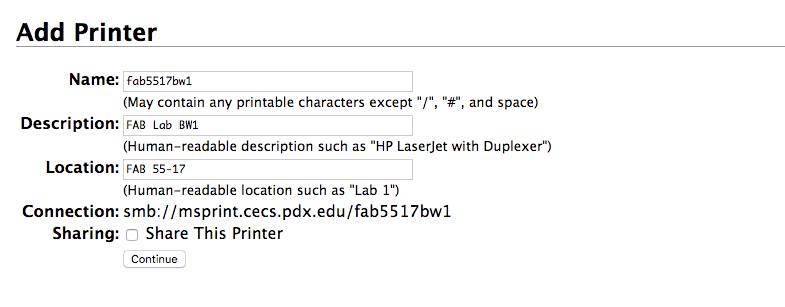
Step 8 – Enter a name, description, and location for your printer.
These will help you identify this printer at the system print dialog.
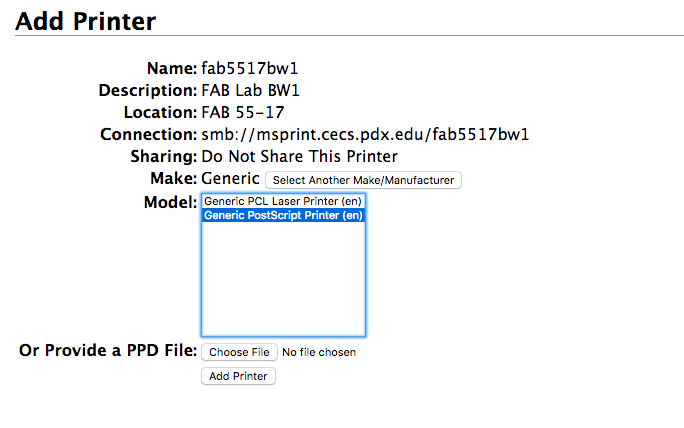
Step 9 – Select the appropriate make and model for your printer.
If you’re not sure, selecting “Generic”, clicking “Add Printer”, and then selecting “Generic PostScript Printer (en)” is generally a good choice. Once you are finished, click “Add Printer”.

Step 10 – Select any printer-specific options, then click “Set Default Options”.
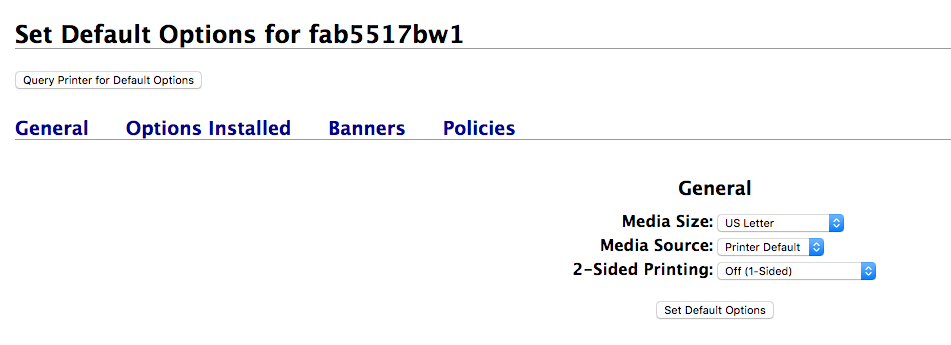
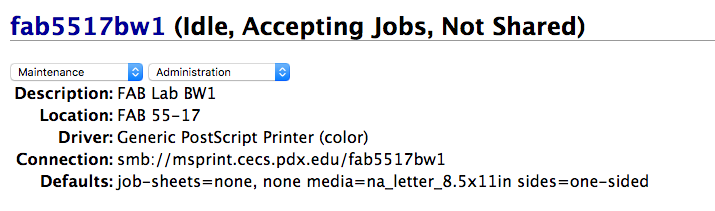
You should see a status like the following. (However, you are NOT yet done.)
Step 11 – Run the following in the terminal:
lpadmin -p PRINTERNAME -o auth-info-required=negotiate
Step 12 – You should now be ready to use the printer.
The printer should now show up in your “Printers” tab and you should be able to print to it using the System Print Dialog. When asked to authenticate, make sure to use your MCECS username and your MCECS password.
Troubleshooting
If the job status is “hold for authentication” but you did not see a authentication popup, cancel the print job and try again.
Printing a test page using the CUPS interface may not work sometimes. You may need to test the printer using the system print dialogue.