Using Virtualbox
Here in the College of Engineering, we offer VirtualBox on our Windows and Linux systems. The following is not a comprehensive guide, but settings that need to be changed in our environment. Guides and information about VirtualBox can be found in the VirtualBox Documentation.
Here are some recommended settings for VirtualBox on our systems. These tips are for both Windows and Linux.
Step 1
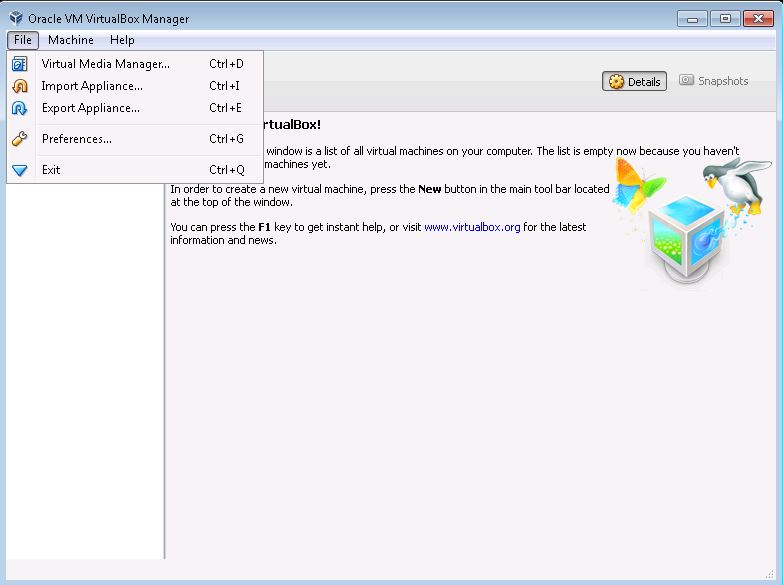
First, click on File, then Preferences.
Step 2
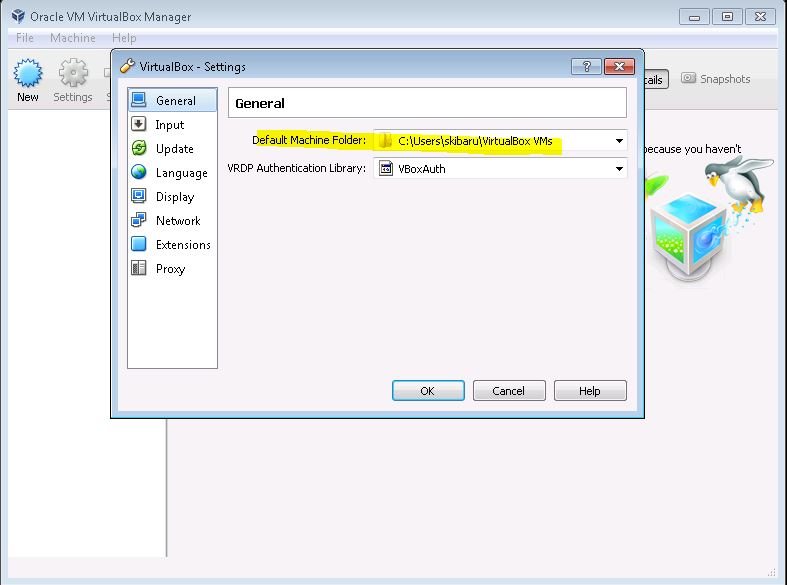
Now you are in the General section, change the Default Machine Folder. By default, Virtualbox will choose a machine folder in your storage quota (which is 5GB on Windows and 10GB on Linux).
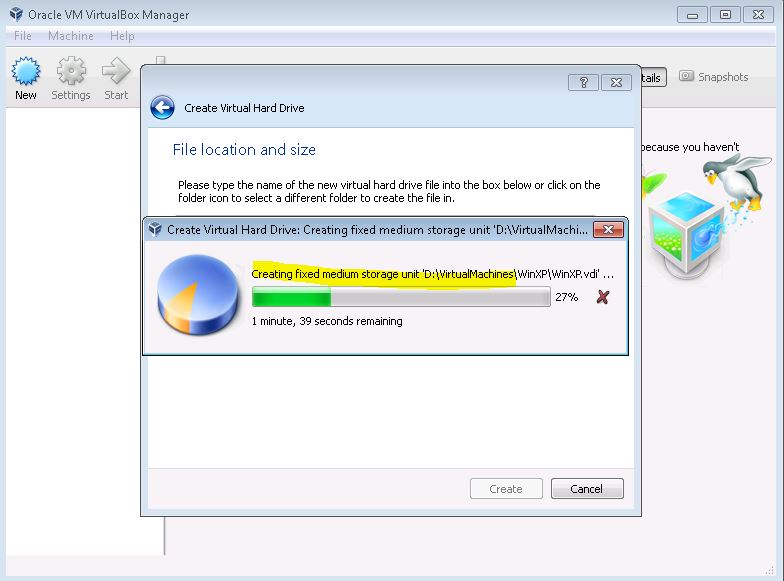
This should be changed to another local disk like D:\ in the following image.
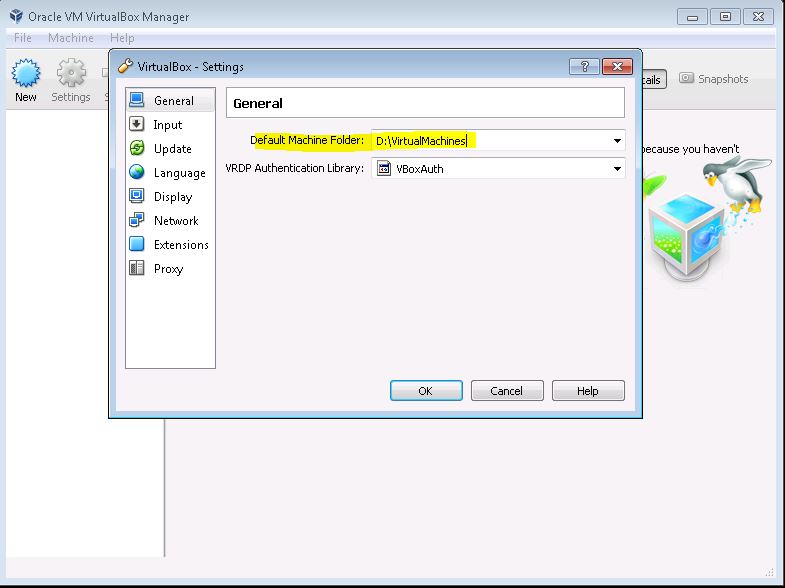
NOTE: when creating a virtual disk, make sure it is also in the D:\ drive, or the location you chose.
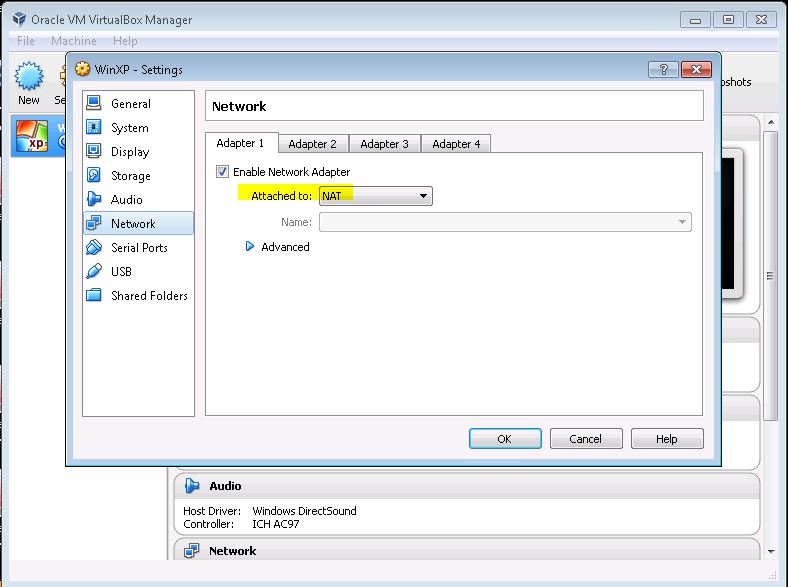
Step 3
In the Networking section, change “Attached to:” and select NAT from the drop down menu.