RightFax Configuration
This tutorial demonstrates how to properly configure RightFax on Windows 7.
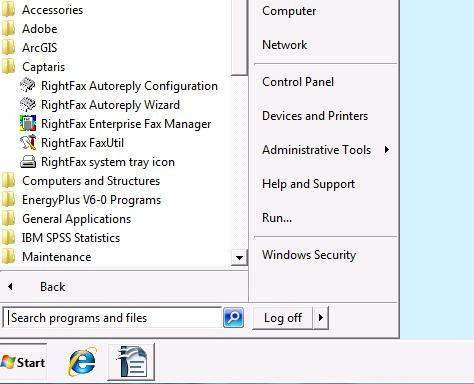
Step 1:
Start the RightFax system tray icon
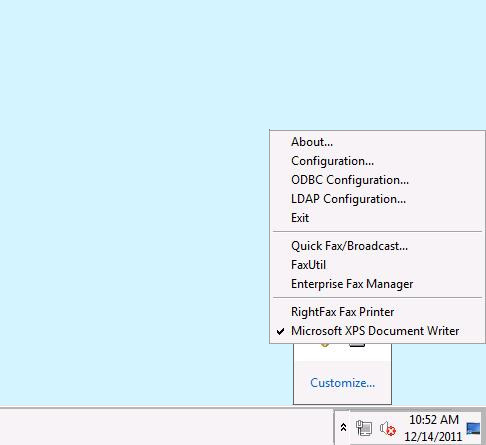
Step 2:
Find the RightFax system tray icon in the system tray and select Configuration
Step 3:
Modify the Default Fax Server Name, Login Method, Startup and User ID as follows

FAX Server Name: fax.pdx.edu
Login Method: User Specified Login ID
User ID: your CECS user name

Further Notes:
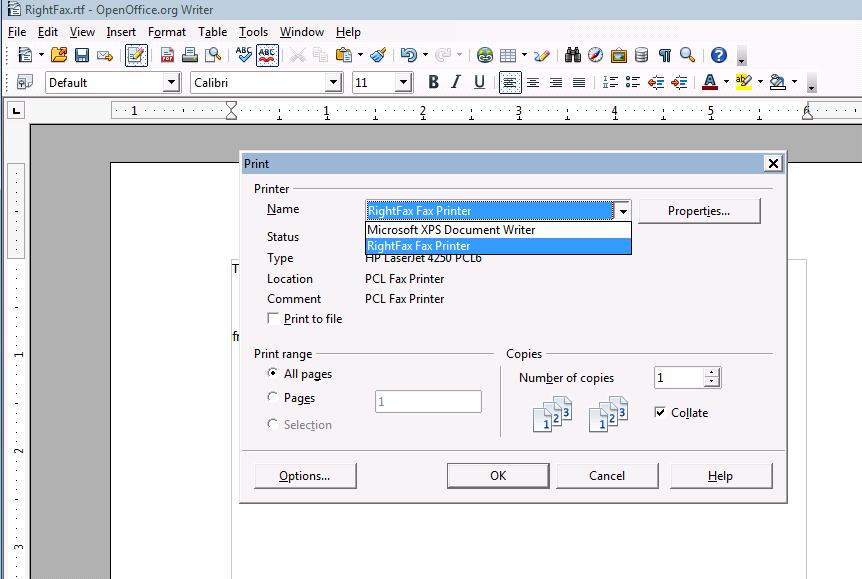
- You can now use Print from your application and choose RightFax Fax Printer
- A Login box may appear prompting for your Password
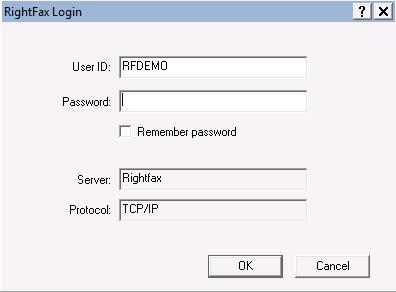
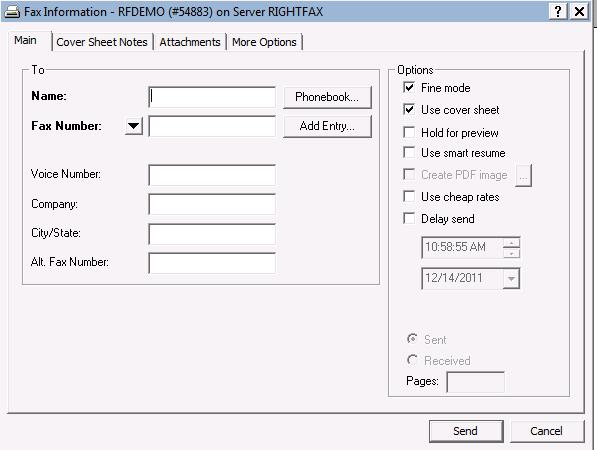
-
- You will then be prompted for the recipient’s name and Fax Number
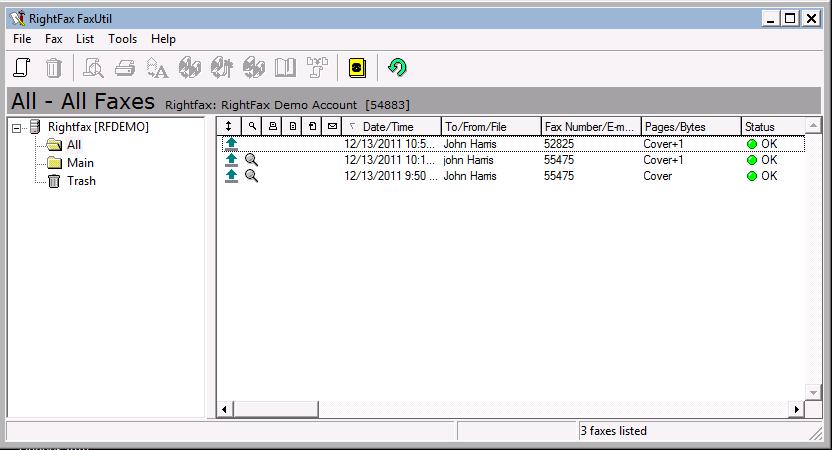
- You can monitor FAXs using the RightFax Fax Util
Additional RightFax User Guides can be found here: