X forwarding with Xming
This tutorial will cover how to forward X11 applications from a remote Unix/Linux host to a local Windows machine. On a Unix/Linux machine, you can run remote applications via XForwarding with something like: ssh -X rnixon@dthroat.cat.pdx.edu “gimp”. In order to get this same functionality on a Windows machine, we need to start an Xserver that can display the remote X11 application. We will be using Xming for this purpose.
Preliminaries
You will need an account on a remote Unix/Linux machine, PuTTY and Xming. If you are working on a CECS machine, both PuTTY and Xming can be found under Start->All Programs->General Applications. Ensure that the remote Unix/Linux machine is running and has the software you wish to forward installed.
Starting Xming
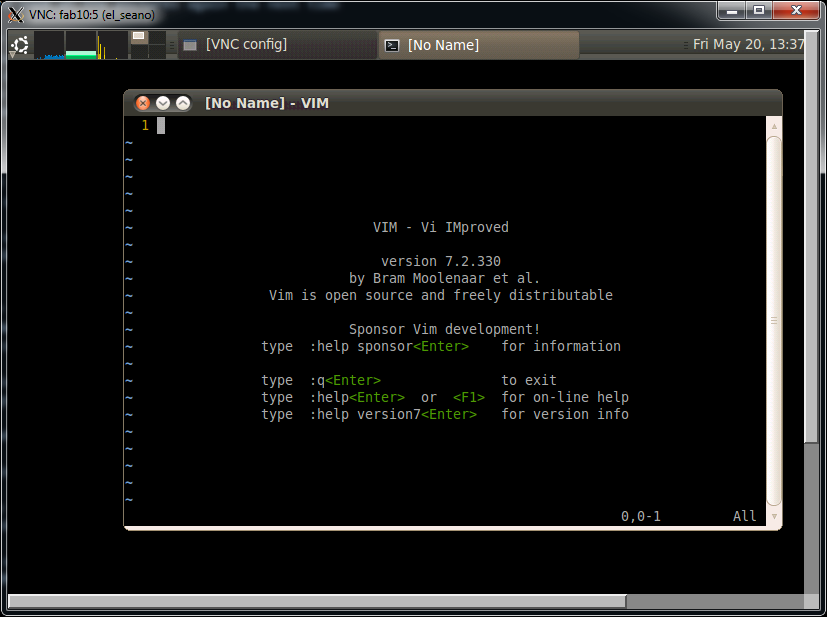
Simply run Xming from the Start menu. Instead of a window or prompt, Xming will sit in your taskbar, as pictured:
That’s all there is to it!
Forwarding X11
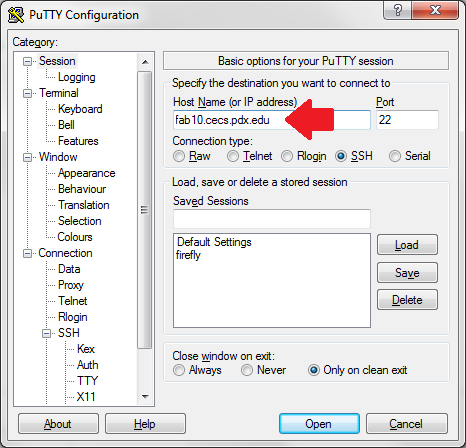
Step 1:
First, open PuTTY and specify the address of the remote Unix/Linux host:
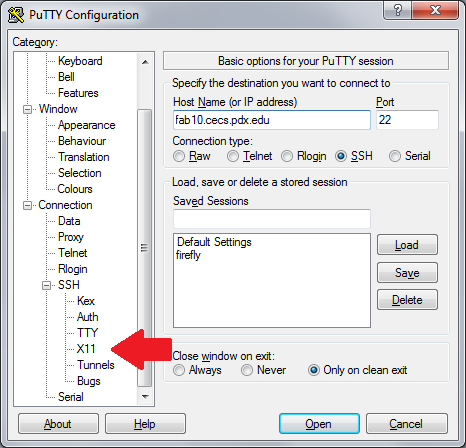
Step 2:
Next, select Connection->SSH->X11 in the left pane:
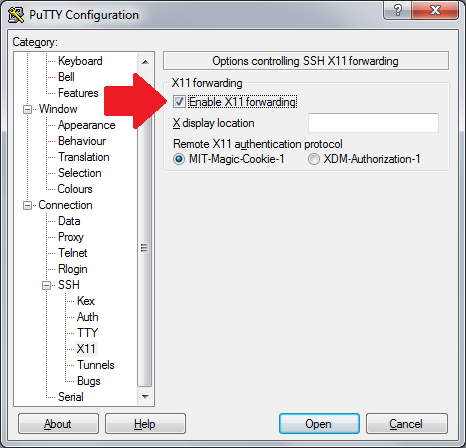
Step 3:
Check ‘Enable X11 Forwarding’:
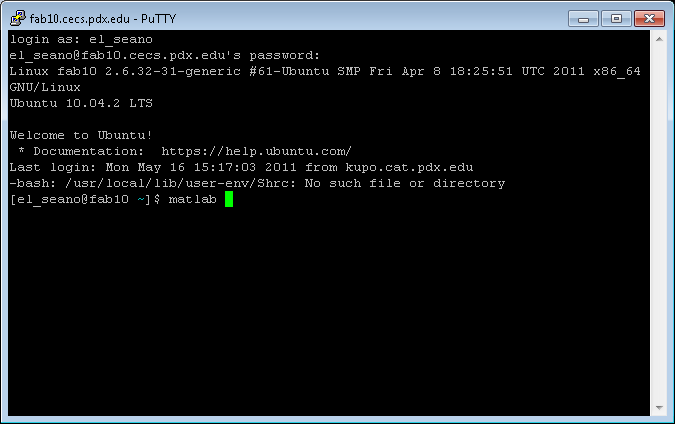
After successfully logging into the server, you should be at a console prompt. Here you can just enter the name of the program you wish to run and a new window will open up:
VNC in Xming
You can also run a VNC server using Xforwarding. To do this, start a VNC session on the remote host with the following:
vncserver –localhost
You should get output similar to:
New ‘COMPUTERNAME:# (USER)’ desktop is COMPUTERNAME:#
Starting applications specified in /u/USER/.vnc/xstartup
Log file is /u/USER/.vnc/COMPUTERNAME:#.log
Where COMPUTERNAME is the name of the remote Unix/Linux host, USER is your remote account name, and # signifies the display number the VNC session is started on. In order to start using your VNC session, run:
vncviewer :#
Where the ‘#’ is the display number mentioned earlier. Your should now have access to your Unix/Linux desktop!