Connecting to OpenVPN on Windows
VPN stands for Virtual Private Network. Once you are connected to the VPN, your internet traffic will be directed through PSU’s VPN hardware, and it will appear that you are connected physically to PSU’s network. This will allow you to use private MCECS services that require a connection to the PSU network, like Remote Desktop and VNC.
CECS vs. CECS Full Tunnel
CECS – a split tunnel configuration. Only data directed at PSU is sent through the VPN. The rest of your connections to other sites on the internet go through your ISP.
CECS Full Tunnel – a full tunnel configuration. ALL data from your computer is sent to PSU through the VPN. Should only be used for special needs.
Most MCECS users should find the CECS configuration sufficient for their needs. It is possible to set up both profiles and decide which one to use when connecting to the VPN.
When would full tunnel access be required
Full tunnel access is needed for users attempting to access the banner administrative interface, banner report downloads, campus drupal website maintainers, among other things.
Configuration Steps
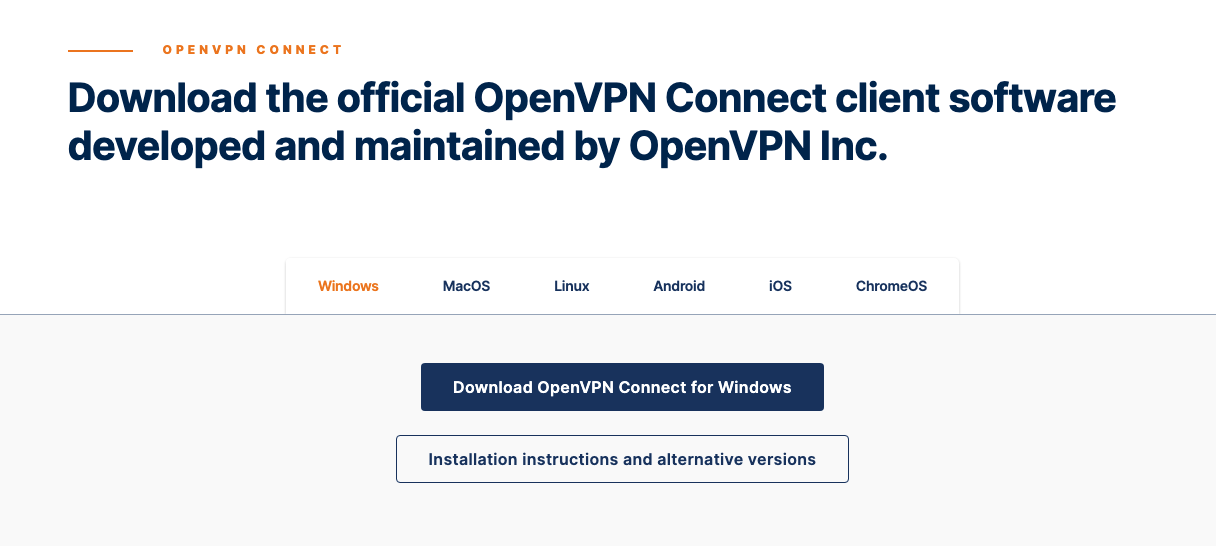
1) Install OpenVPN client
2) Run the installer
Depending on your browser, you could run it from the download dialog. Or go to your downloads location and run the installer from there.
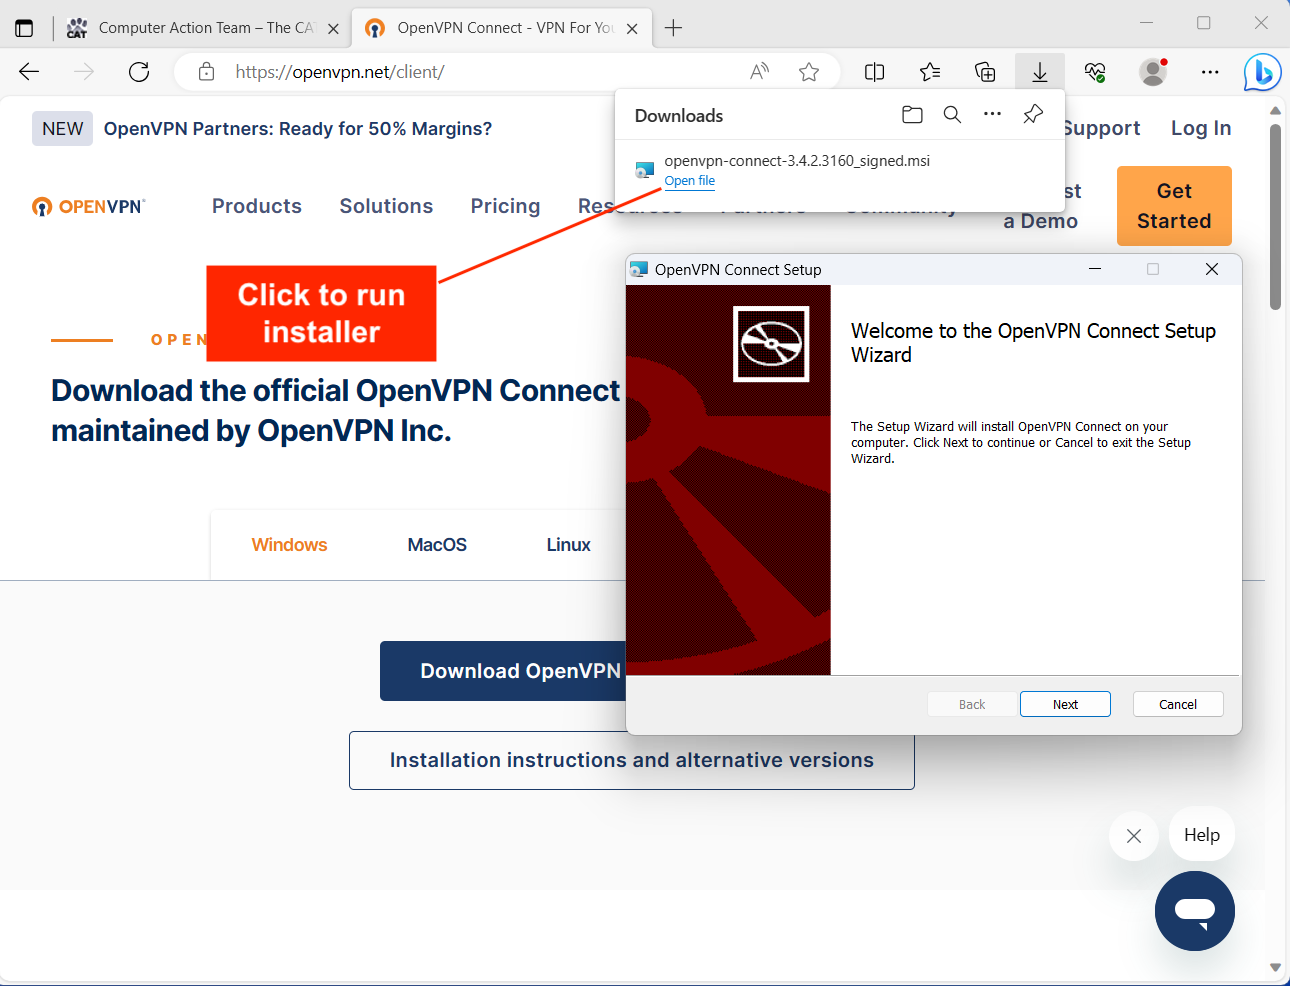
3) Follow the installer steps until the client is installed
Your client may auto-run once the installation is finished. You may have to move it aside in order to download the configuration files.

4) Download MCECS OpenVPN configuration files
Click below to download the OpenVPN configuration files(s) of your choice.
MCECS default split-tunnel profile:
https://intranet.cecs.pdx.edu/downloads/files/openvpn/current/cecs_openvpn_connect/cecs.ovpn
MCECS full-tunnel profile:
https://intranet.cecs.pdx.edu/downloads/files/openvpn/current/cecs_openvpn_connect/cecs_full_tunnel.ovpn
5) Import the OpenVPN configuration file into your client
There are two methods to import your configuration – using the client import feature or double-clicking on the configuration file.
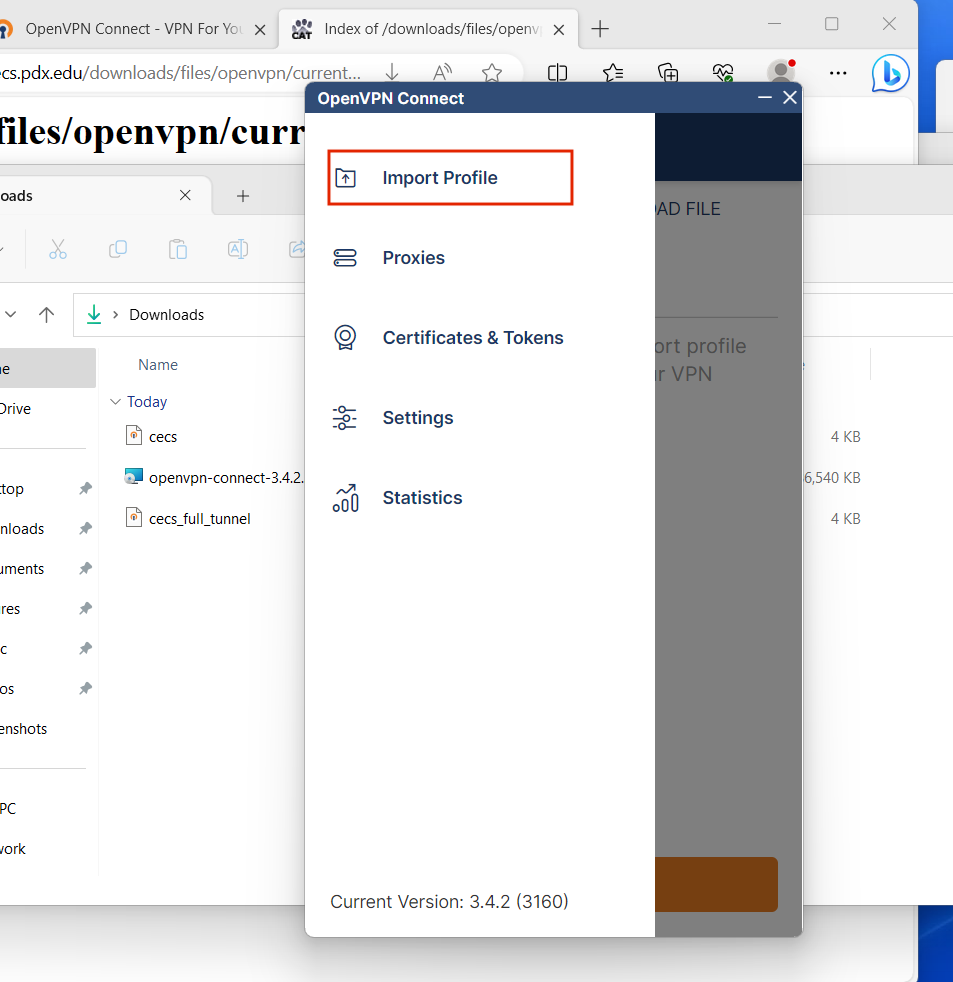
5.1) Import configuration using the import feature of the client
Choose the import profile item in the OpenVPN client menu.
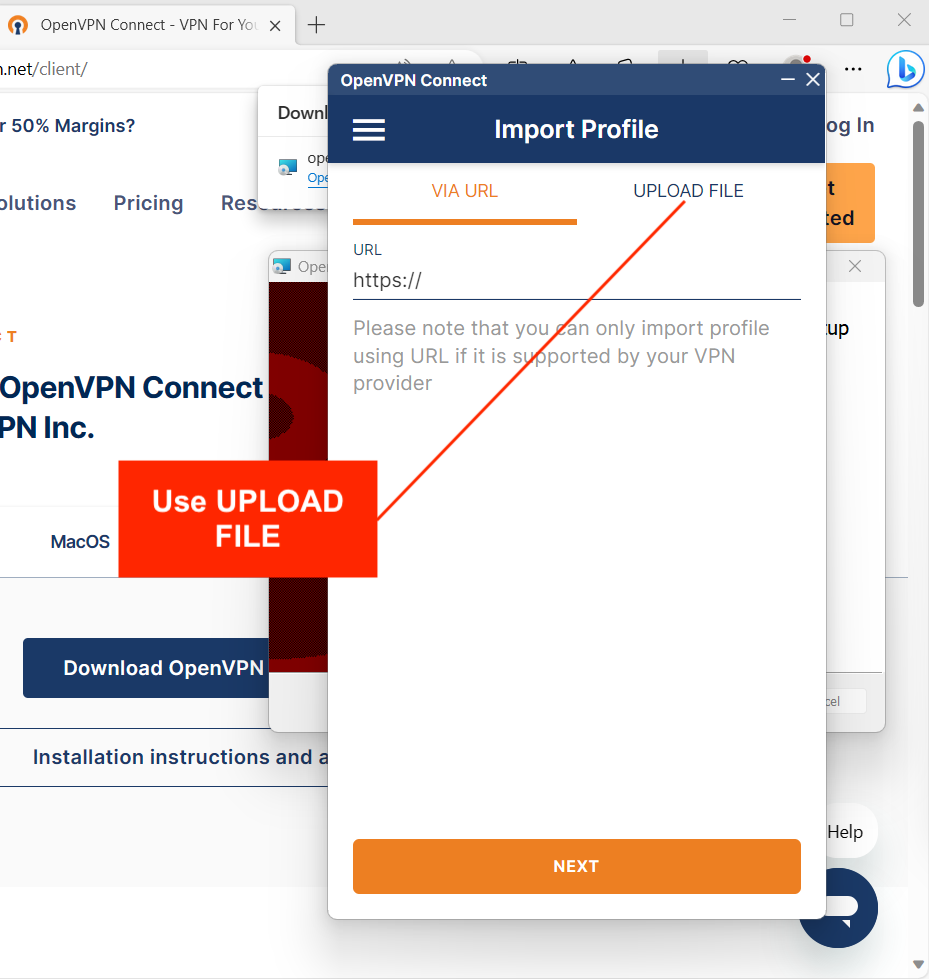
Use the upload file option to import the configuration file. The URL method will not work in MCECS.
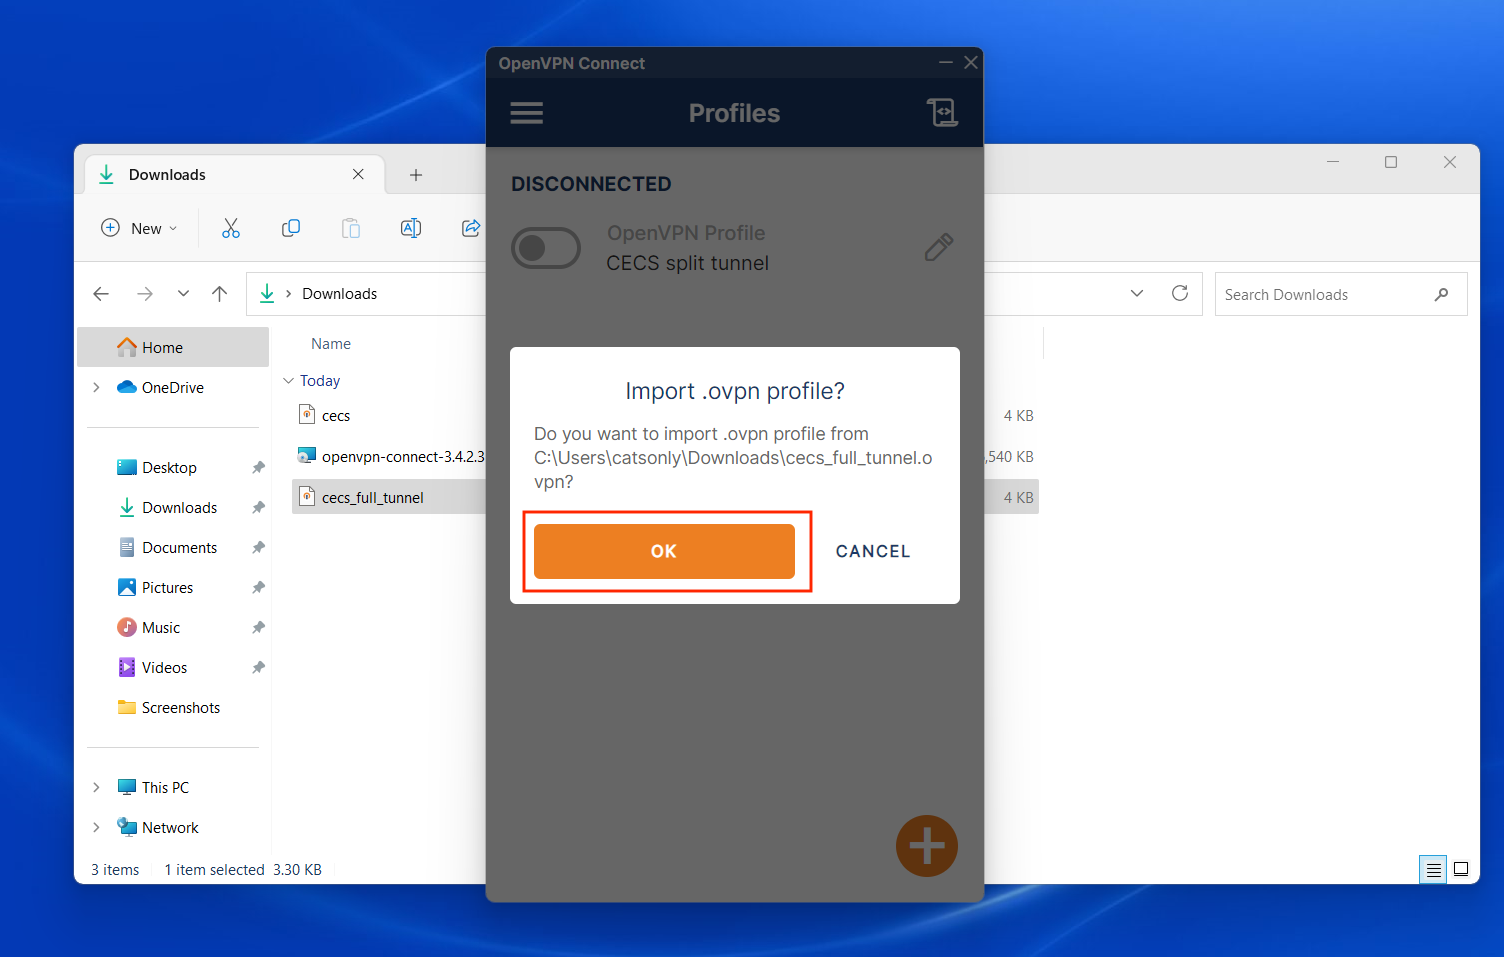
5.2) Double-click on the configuration file
Click OK on the import popup
6) Use your MCECS account to authenticate to OpenVPN
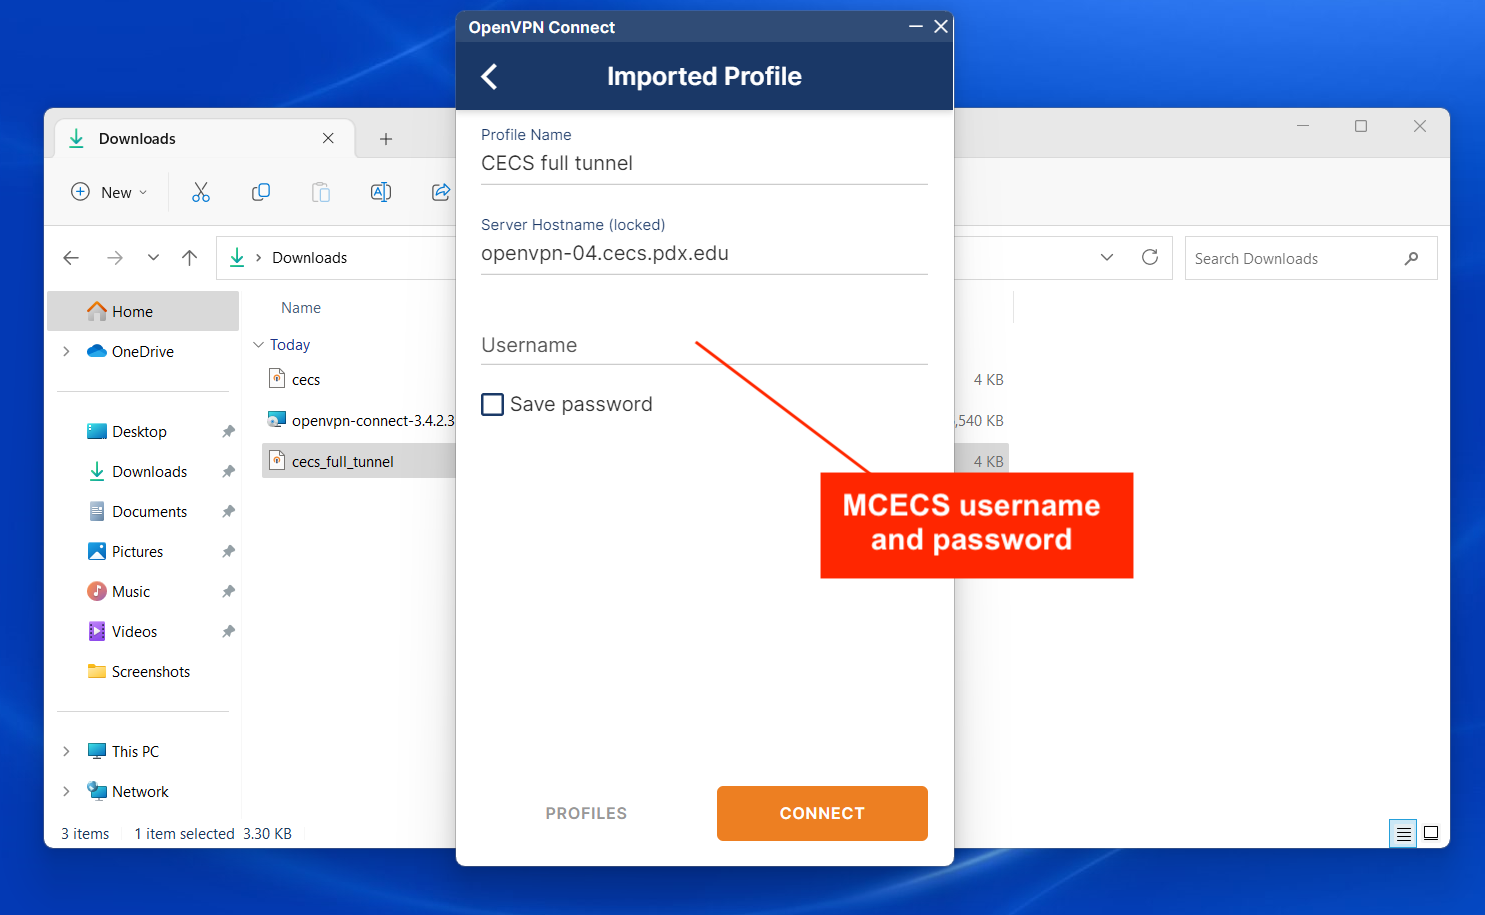
Your Odin account will not work when trying to authenticate to OpenVPN.
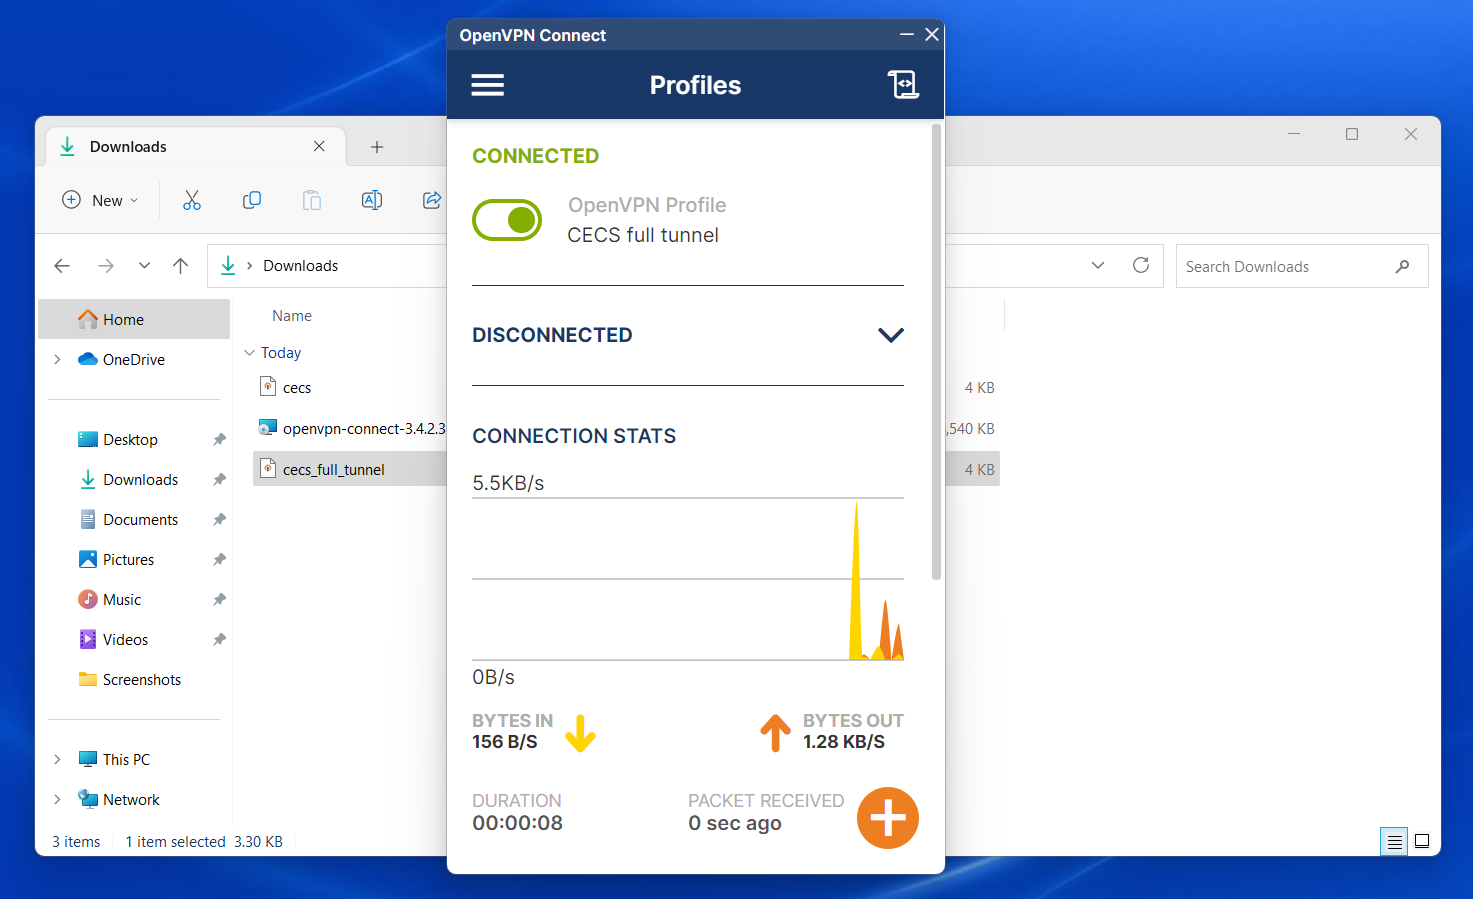
7) You will now be connected to OpenVPN using the configuration (profile) that you specified.
Miscellaneous
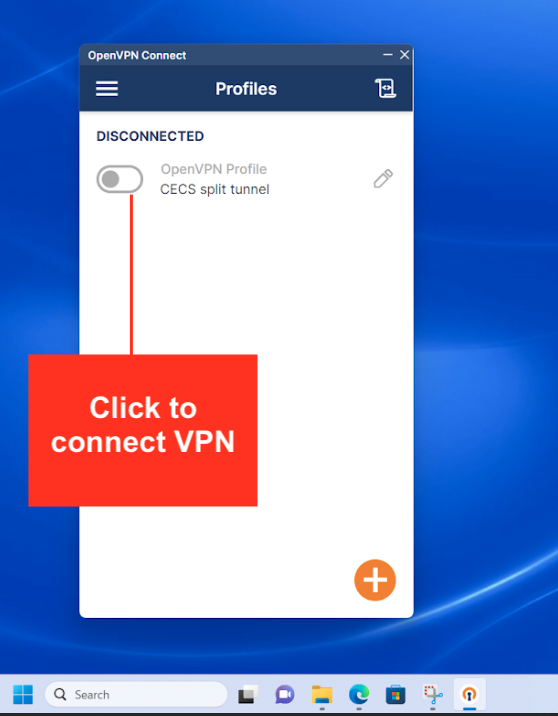
Manually restarting OpenVPN
After a reboot, you may need to reconnect to OpenVPN to access MCECS resources. Activate the VPN configuration (profile) as needed.
To check whether you are connected to the VPN
Go to:
The top bar of this site will tell you whether you are on the VPN or not.