Connect to PostgreSQL for a Database Class
The CAT offers PostgreSQL databases for database classes, which can be accessed in a variety of ways: command line, client, and web browser. Database accounts for classes are self-managed
| Table of Contents |
|---|
Access PostgreSQL using the Unix/Linux command line
When on the PSU network (either physically or via VPN if remote), you can use the following command to access PostgreSQL from the Unix/Linux command line:
psql -h dbclass.cs.pdx.edu -U username databasename
‘psql’ is the program name, the ‘-h’ means host, and our host is dbclass.cs.pdx.edu, which is our database server. Next is your database username, specified after the ‘-U’. Last is your database name, which is usually the same as your username.
Access PostgreSQL from a PostgreSQL client
You can access your PostgreSQL database using a client you install on your personal computer. These programs will need some information about our server in order to access your database. You’ll need to be on the PSU network (either physically or via VPN if remote) to connect.
Username: given to you by your instructor
Database: usually the same as your username
Password: given to you by your instructor
Hostname: dbclass.cs.pdx.edu
Port: 5432 (the default port for PostgreSQL)
How to access PostgreSQL from a Web Browser
You can access PostgreSQL from anywhere – on campus, on a laptop, or at home – using this link:
NOTE: First, you will be prompted to use your MCECS account login/password to authenticate with this web page. If you do not have this set up or do not know your login information, use our CRAM tool to reset.
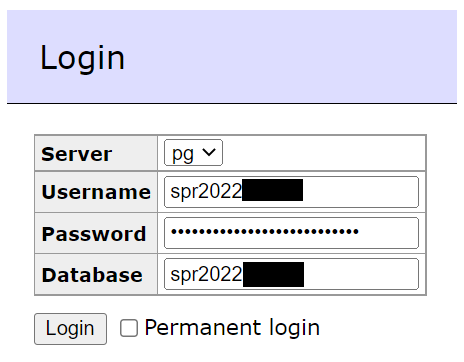
Once you get through to the webpage, you will be prompted for your database username and password. These credentials are sent directly to you by your teacher. For database classes, your database name is the same as your username. You can leave the database name blank to see and select a list of all databases you have access to.
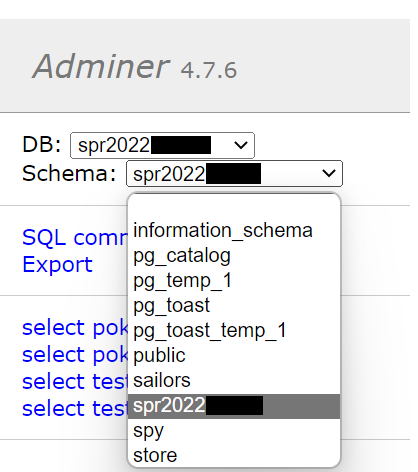
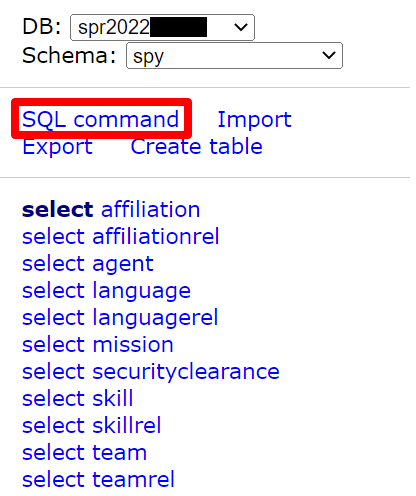
On the left side you can select different schemas. Each schema will contain different tables, some of which are provided automatically by your teacher.
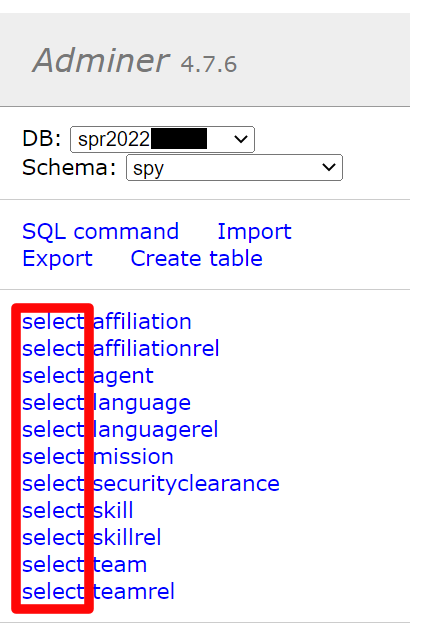
After selecting a schema, you can select different tables which will appear below the dropdowns. The select text will turn bold for the current table selected (if any), and the contents of the table will be displayed.
Running SQL Commands on the Web Interface
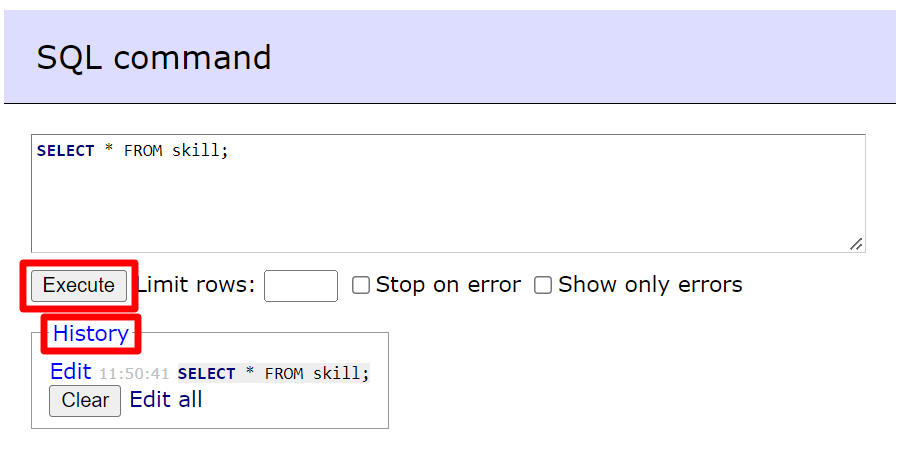
SQL commands can be executed at any time by selecting “SQL Command” on the left menu. Ensure the correct database and schema are selected beforehand.
Type one or more commands, then press execute. The results will be returned on your screen. You can also view a temporary history of your commands by selecting the history menu at the bottom. This history only lists commands executed in the web interface and does not include commands executed directly on the command line.
