Mapping OneDrive as a Network Drive
These instructions will help you link your OneDrive folders to one of your network drives. There are some issues with integrating the OneDrive app with the Windows roaming profile, instead we recommend that you map OneDrive as one of your network drives. This is a simple process and only takes a few steps. After you map the drive, it will be available next to the other Network Drives on your computer. You will be able to access the contents and make changes as you would normally.
Step 1: Go to onedrive.live.com and claim your account. You can create a new Microsoft email (@outlook.com, @live.com, etc) or sign in using an existing email.
Step 2: Navigate to the root folder where you can see all of the files and folders.
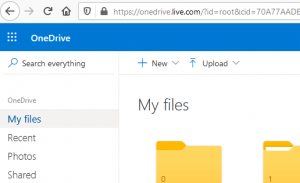
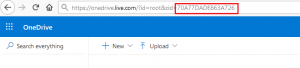
Step 3: Carefully look at the URL, and copy the number following the ‘cid=’ tag. This CID will be used to set up the network drive.
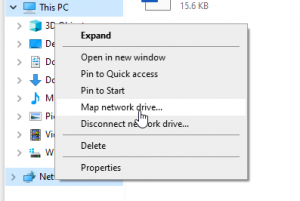
Step 4: Right-click ‘This-PC’ icon in File Explorer and select ‘Map network drive…’.
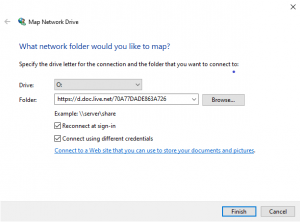
Step 5: A pop-up dialog will ask you to specify the drive letter for your connection. In our example we have chosen ‘O:’. In the folder field, enter ‘https://d.docs.live.net/’ followed by the CID you copied earlier. Check the box for ‘Connect using different credentials’ and then click on ‘Finish’.
Step 6: The program will then establish a connection and prompt you to log in.
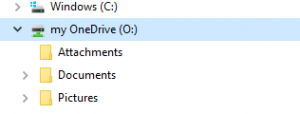
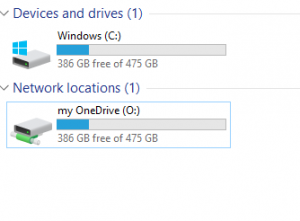
Now when you open ‘This-PC’, you will see the newly created OneDrive connection in ‘Network locations’. You can rename the drive to something easier to read by right-clicking on the drive name and selecting ‘Rename’.
You can open and use this drive as you would any other drive on your computer. Be sure to have a stable internet connection to make any changes on the drive.