Scanning
Where to find a Windows flat bed scanner
Computers with scanners are identified with a scanner sticker. Windows-based scanners are available:
FAB general lab:
- fab99
EB general lab:
- cad41
If you are looking for bulk scanning, see:
https://cat.pdx.edu/services/scanning/bulk-scanning/
Scanning in CECS Windows Labs
Place the document you want to scan face down in the scanner, making sure to align the page with the top and left edges of the scanning area. Close the lid, and press the largest button on top of the scanner (it has a picture of a scanner on it).
You’ll see the following screen:
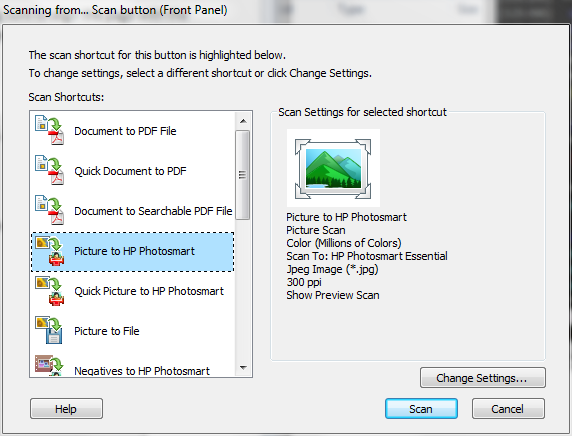
On the left is a list of scanning modes. Once you select one, you can see the specifics listed to the right. The default mode is “Picture to HP Photosmart”, but you’ll want to switch to either PDF or Image scanning.
There are three PDF scanning options at the top of the list. Choose whichever best fits your needs:
Document to PDF File will scan your document at a high resolution (300 ppi) and save it as a PDF.
Quick Document to PDF will scan your document at a normal resolution (150 ppi) and save it as a PDF. This will scan faster than the first option.
Document to Searchable PDF will scan your document at a high resolution (300 ppi) and attempt to recognize any text on the page so that you’ll be able to search and select it.
Optional: adjusting scan settings
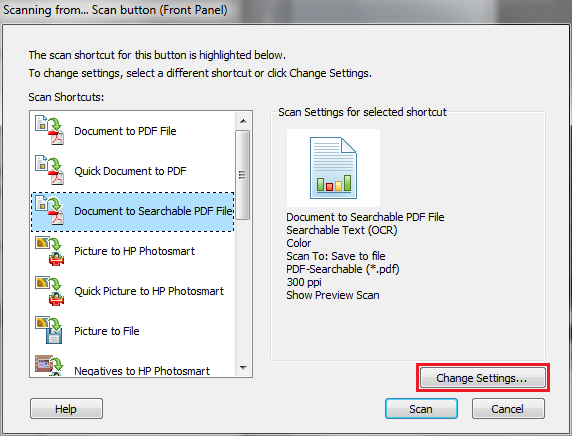
You can customize your scan settings by clicking the “Change Settings…” button at the bottom right. Once you do, the right side of the window will change to show more options:
* *“Scan Type”* is the type of document you’re scanning. “Document” works fine for most purposes, but you can also choose to scan Pictures, Negatives or Slides here.
* *“Output Type”* will allow you to scan in color, grayscale, or black and white (with no gray values).
* *“Scan To”* allows you to skip saving your file to your computer and simply open it in an application instead, if that’s what you’d prefer.
* *“File Type”* lets you choose which file format you’d like. The default is PDF or PDF-searchable (depending on what you chose in the left pane) but there are other options here as well.
Optional: resolution adjustment and foreign language text recognition
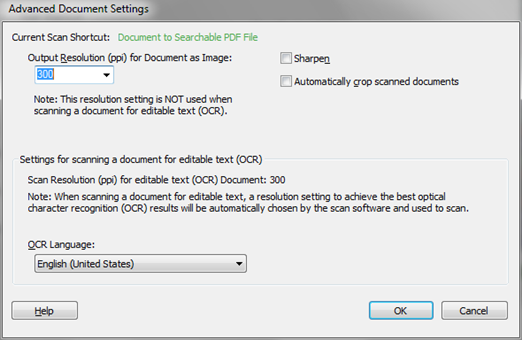
If you need to scan at a specific resolution or you need the scanner to recognize text in a non-English language, click on the “Advanced Document Settings…” button just below the “Scan Type” dropdown.
Here you can enter a specific output resolution or choose a text language from the “OCR Language” dropdown menu. You can also tell the scanner to automatically crop or sharpen the scan at the top right.
Cleaning up the scanned pages
When you’re done with any settings adjustments, click “Scan” at the bottom right of the window. Your document will be scanned, and you’ll see this dialogue:
On the left is a preview of your scan. Note that this is only a preview – the resolution may look blurry, but the final version will be much higher quality.
Cropping a page
The scanner will often scan too large an area, so you’ll probably need to crop the image. To do so, click on the ‘Crop’ tab at the top right.
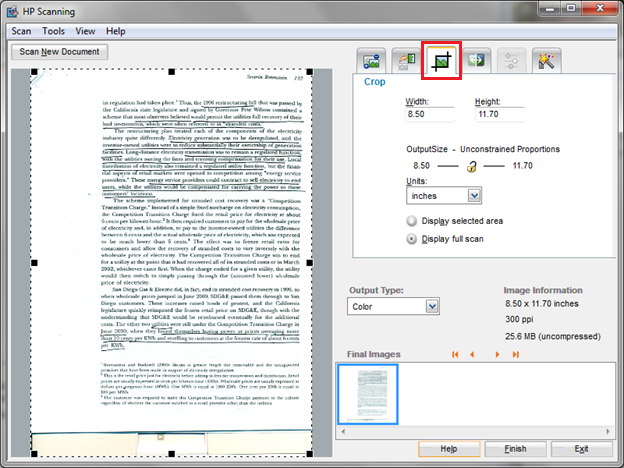
There are two ways to crop your document:
# You can drag the black squares in the left panel so that the dotted outline frames the part of your scan that you need, or
# You can type an exact value into the “Width” and “Height” boxes at the top right.
Note that if you need to crop multiple pages, you will need to go through this process for* each one*.
Scanning multi-page documents
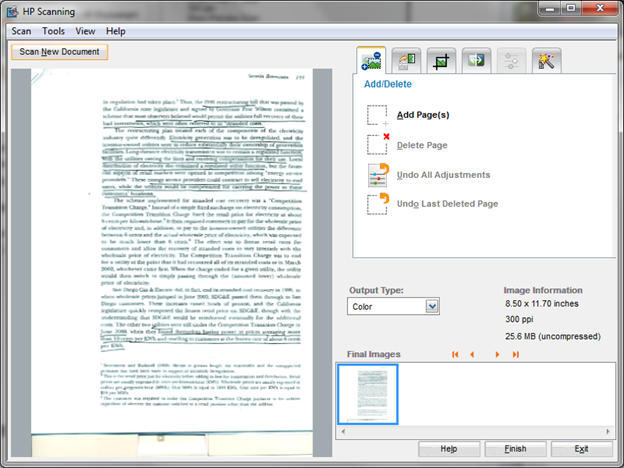
If you need to scan more pages, you can used the Add/Delete menu at the top right. *First*, open the scanner lid and place your next page. Then, click on “Add Page(s)”:
The new page will be scanned, and it will appear in the “Final Images” area below.
If you need to rearrange the order of your scanned pages at any point, you can click on the page you want to move and then use the orange arrow buttons to position it correctly. If you need to delete a page, just select it in the “Final Images” area and click on “Delete Page”. This can be undone with “Undo Last Deleted Page”.
Finishing the scan
When you’re ready, click the “Finish” button at the bottom left. Your file will automatically be saved to your My Documents folder, as “scan###.pdf”.