File Sharing through RDP from MacOS
Step 1: Launch the Microsoft Remote Desktop application and fill out the computer and username fields, following our guide here if you would like instructions:
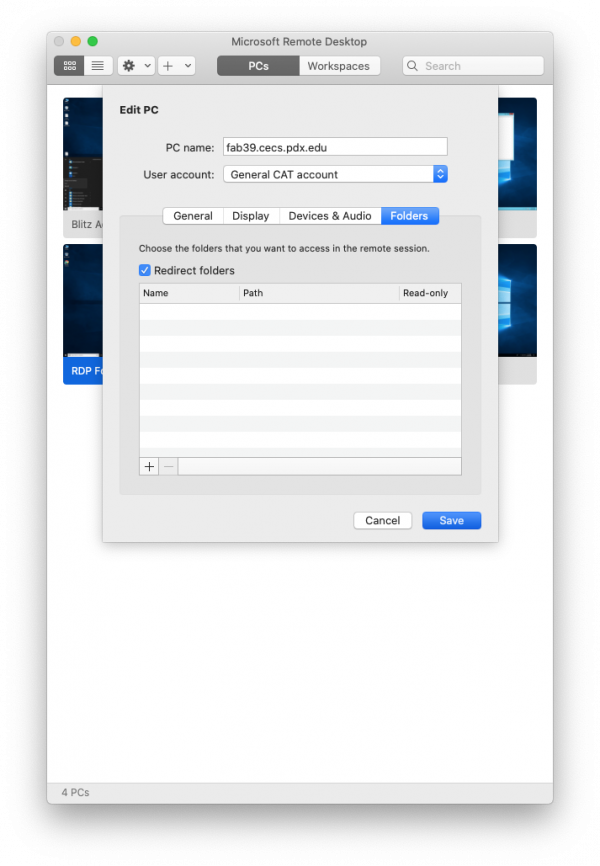
Step 2: Click on the “folders” tab, and then click the “Redirect folders” check box.

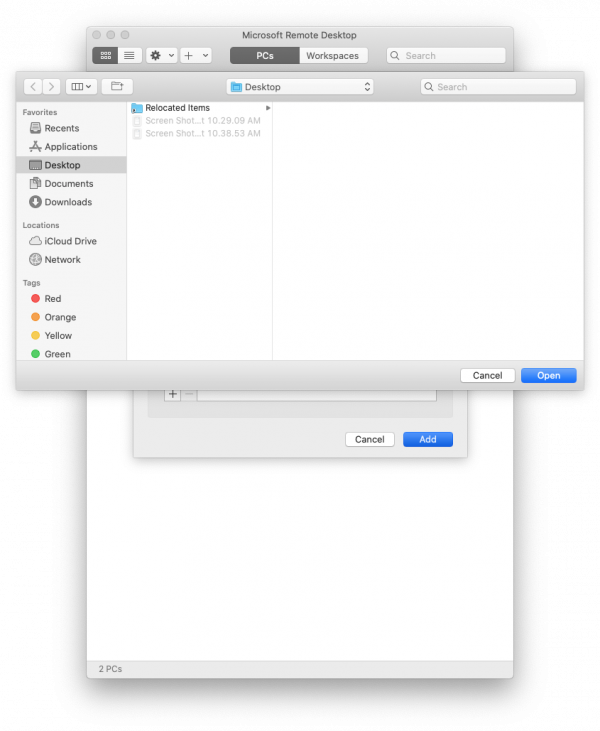
Step 3: Click the plus (“+”) button in the lower left corner to select a new folder to make available for folder sharing.

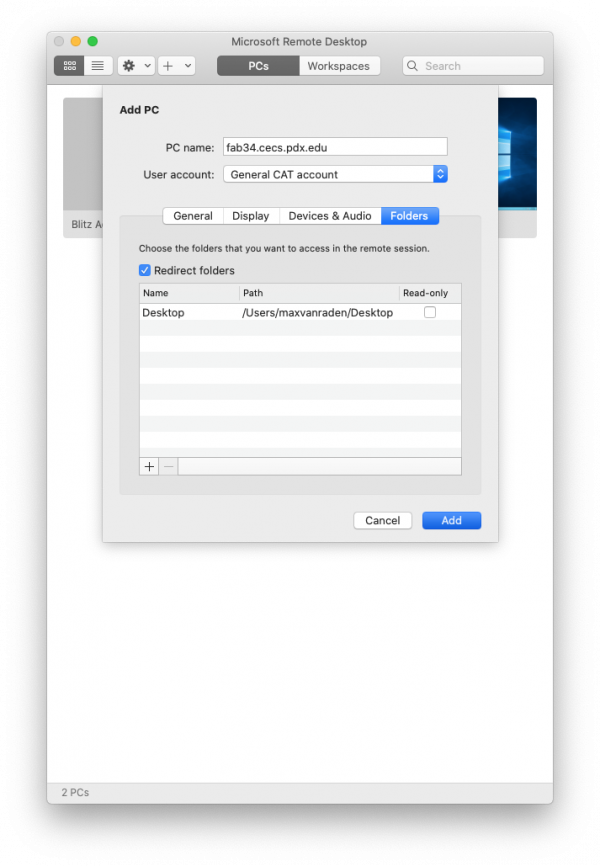
Once a folder has been added (in this case, desktop), it will appear in the list of shared folders, as shown below. The minus (“-“) button in the lower left hand corner can be used to remove a folder you no longer want to be available for sharing.

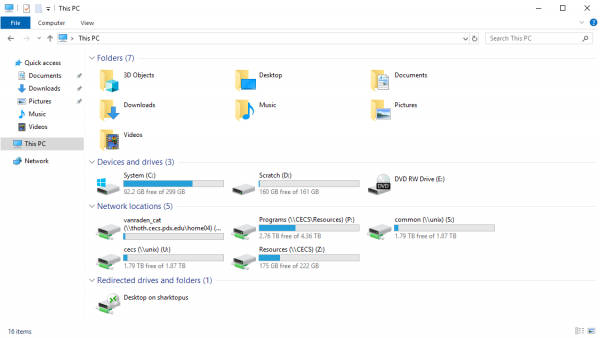
Step 4: From within the remote session, navigate to “This PC” within the File Explorer. The drives that you have selected will appear under the “Redirected drives and folders” section.

Step 5: Drag files to and from the drive like you would any other folder.
