Windows Printing
If you are attempting to print from campus wifi or from off site, make sure that you are connected to one of our VPNs.
You must add at least one printer before you can print.
ARE YOU ON A SELF-MANAGED SYSTEM (TIER 3)?
For Tier 3 machines, it is recommended that users try Mobility Print to install MCECS printers on their machines. It is a quick and simple solution that can install all general lab printers and many department printers on your Windows machine. Click on the button to go to the guide to see if your printer can be installed with Mobility Print. DO NOT attempt to use mobility print if you are on a CAT supported Tier 1/2 computer.
Adding a printer from a CAT supported computer:
Note: Brother printers have a unique driver issue that will cause them to not work properly when accessed via msprint.cecs.pdx.edu. Instead, for Brother printers, you may need to use \msprintprintername or \tenjinprintername to get printing setup properly.
Navigate to \\msprint.cecs.pdx.edu
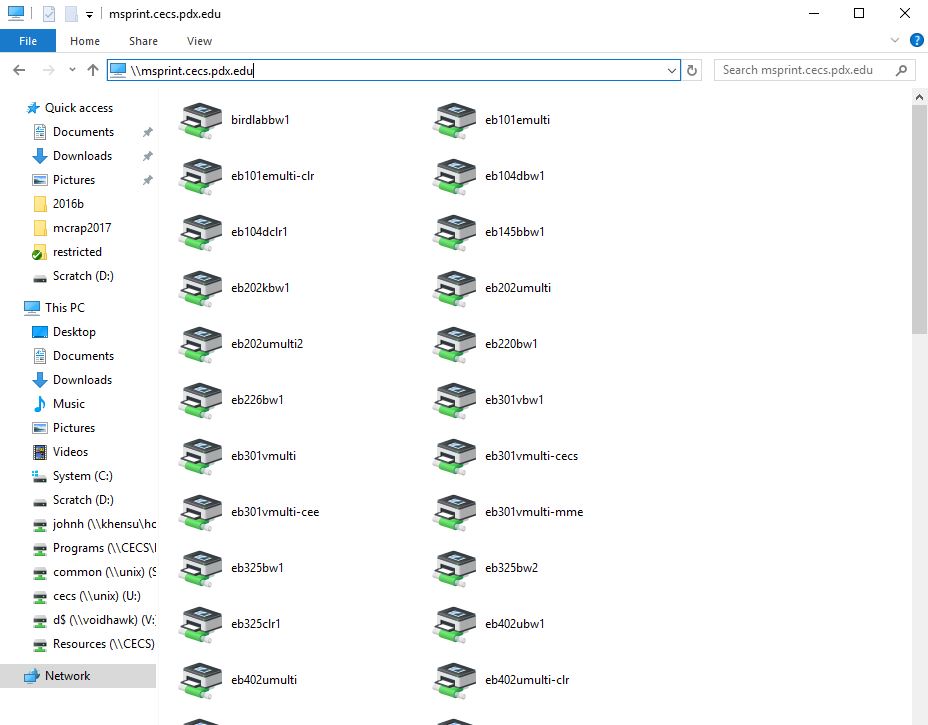
You can search for a printer using the field in the top right of the window.
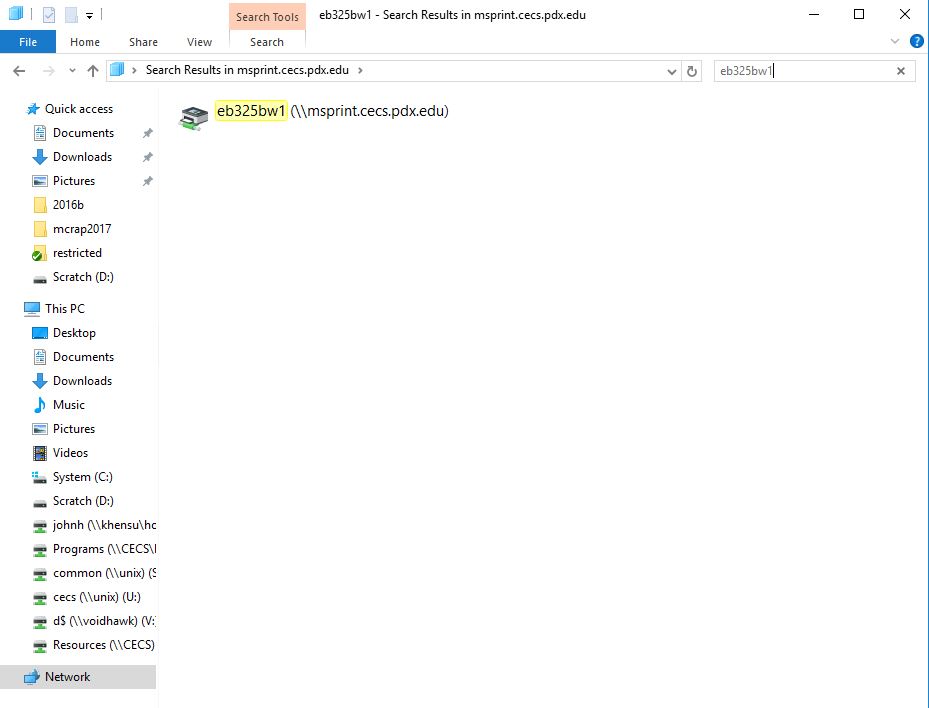
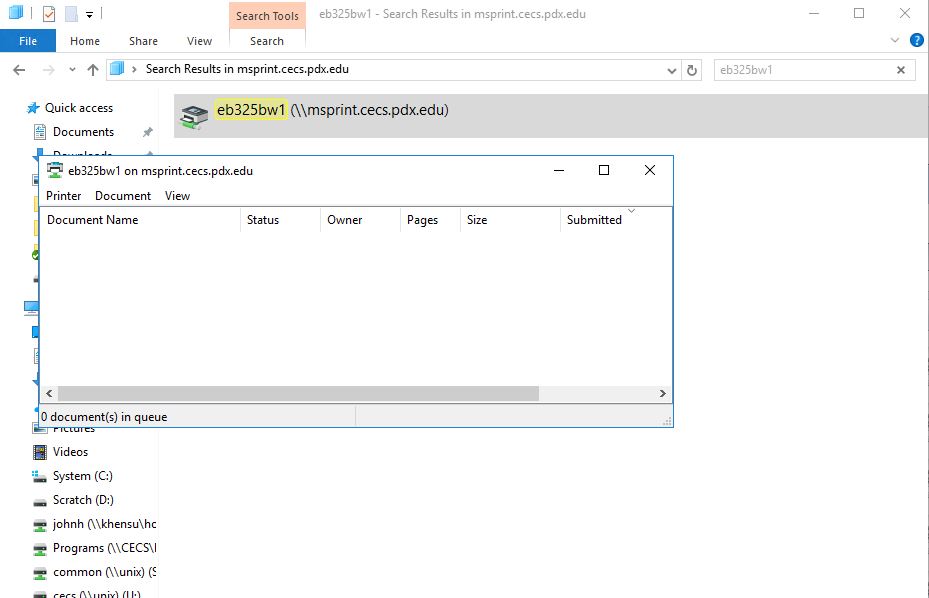
Then double click on the printer to install it. Once it is finished, the print queue window will pop up.
Your printer should now be in the Devices and Printers list and is ready for use!
Which Printers To Use
Make sure you know where you’re printing! The list of printers is long and includes printers in several buildings.
Link to the List of Printers. We try to keep this page up-to-date, but it is occasionally incorrect as printers move around.
Checking Print Balance
To check your balance, log in to https://intranet.cecs.pdx.edu with your MCECS username and password. There will be a “Print Quota” section at the bottom of the page. You can also find a Shortcut located on Start -> Disk & Printer Quota & Setup -> My Disk & Print Quota.
How to Configure Double-Sided Printing
Note that you may get a different preferences menu for different printers. The instructions below provide a few common examples of the procedure. Be sure to compare what you see with the screen shots below.
For a Single Print Job:
- Choose Print from the file menu in your application, just like you would normally.
- From the drop-down menu, select the printer you want to use.
- Click the Properties button next to the printer name.
- Click the Layout or Finishing tab (depending on your printer).
- Uncheck “Print On Both Sides” or choose “None” under that category (depending on your printer).
To Set Single-Sided Printing as Your Default Preference:
- Click Start -> Printer Setup and Information -> My Printers.
- Right-click on the printer you want to use from the list that appears.
- Choose Printing Preferences from the pop-up menu.
- Click the Layout or Finishing tab (depending on your printer).
- Uncheck “Print On Both Sides” or choose “None” under that category (depending on your printer).
- Click Apply and then click OK to leave the Printing Preferences screen.
- Print jobs to this printer should now be single-sided by default.