Scanning in Ubuntu Linux
The CS Penguin Lab (FAB 88-10) has a scanner attached to ADELIE (its the computer that is not facing the board). These instructions assume you are using the default Gnome Shell.
Step 1
After logging in to your account, press the linux start button or the button with 9 dots at the left bottom of the screen.

Step 2
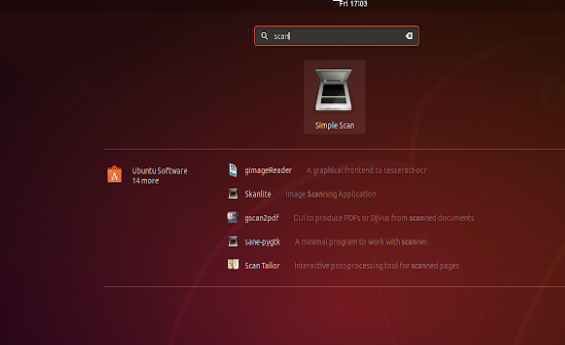
After pressing the 9 dots button, immedietly type “scan” on the keyboard, the icon Simple Scan will appear. Select The Simple Scan icon
Step 3
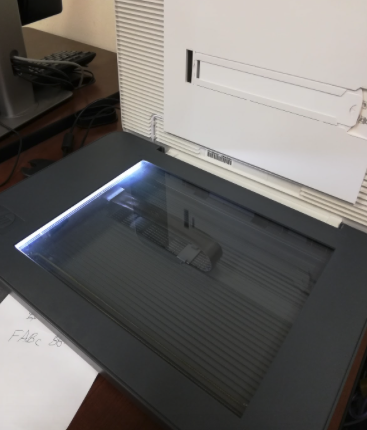
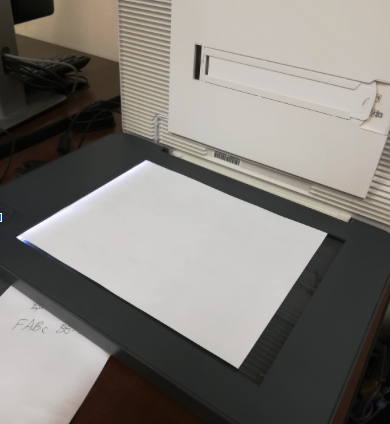
Make sure you have inserted your document on to the scanner properly (scan facing down – make sure it covers all the glass and doesn’t fall on the grey plastic). Close the lid afterward
Step 4
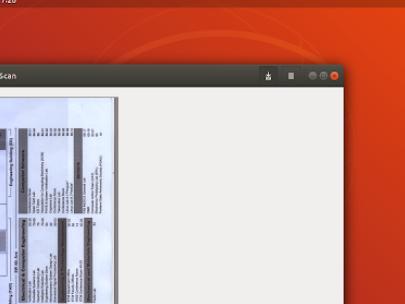
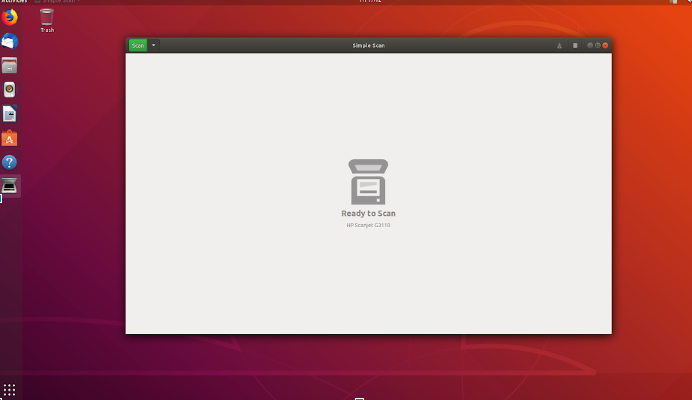
In the Simple Scan window, on the top left corner, there is a green scan button. Before clicking that button, click the arrow down button next to it to set the setting you desire. Then hit the green button
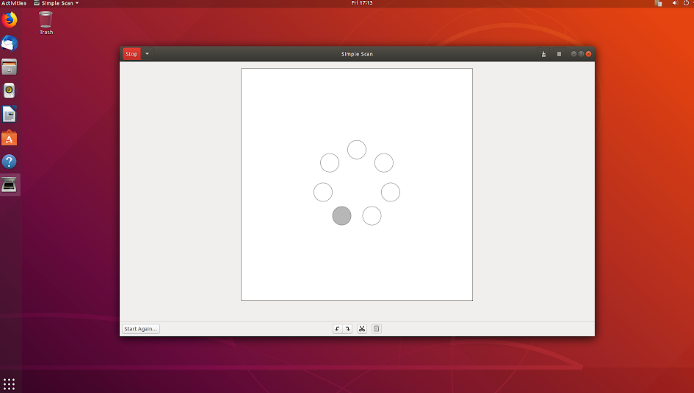
The scanner loading screen will appear. . Wait until it completes. You should hear the sound of the scanner running.
Step 5
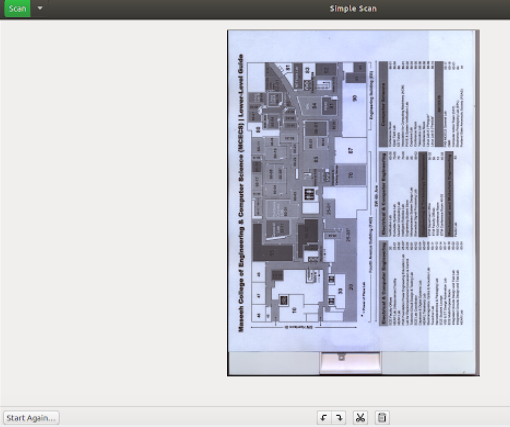
After scanning, you will have several buttons at the bottom of the application. The two arrows is for rotating your picture. The scissors are for cropping and the trash icon is to delete the picture
The bottom left button that says Start Again is to restart the scanning operation. Pressing it will prompt you to either save your file or discard it.
Remember to save
Save your scanned document by clicking the top right button with the down arrow.
